Thinking of Creating ADA-compliant Signs? Here’s Everything You Should Know
The Americans with Disabilities Act of 1990 aka ADA regulations make it mandatory for businesses to install specially designed signs. These help differently-abled individuals identify certain rooms, spaces, or facilities.
Needless to say, you require a set of modern machines to create ADA-compliant signs. Plus, you must have human resources with adequate knowledge of the Americans with Disabilities Act regulations.
List of Tools Crucial for ADA-Signage Manufacturing
- UV inkjet printer or UV LED printer
- Router (CNC routers)
- High-quality UV inks
- Paint booth
- Film printer
- Photopolymer processor
- Hot stamp machine
- Engraver
The operational procedure for these devices varies per brand, model, and additional capabilities.
Which is the Most Preferred Design Software?
It is always better to use a software program with pre-set ADA specifications. Most professionals choose a reputed RIP software, like VersaWorks, and Adobe Illustrator, for the design.
Guidelines
Do you need clarification about the design guidelines and procedures? No worries, we will guide you with the basics of regulations and details for tools required for the job.
You can create a perfect design for ADA signages by ensuring you follow these regulations.
- While developing a signage design, you must ensure high contrast between characters and the sign’s background.
- When it comes to the type style, ADA guidelines make it mandatory to ensure you have 3:5 and 1:1 as the letter height ratio. Further, you must select 1:1.5 to 1:10 the upstroke width to height of the letter.
- You can only choose between medium or bold sans-serif fonts. All the text should be in uppercase. And allot 1/8 of an inch for each character.
- Raise the letters 1/32” above the sign’s background.
- Choose rounded or domed-shaped braille (grade two braille).
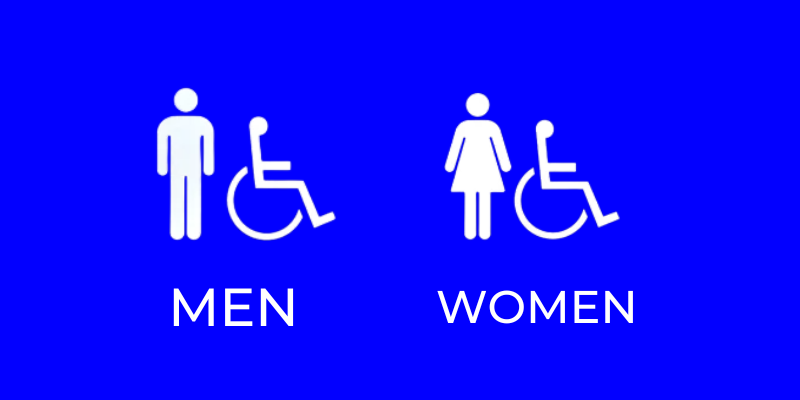
- The sign must consist of a pictogram (international symbol) highlighting the purpose of the signage. The pictogram requires a field with a minimum height of 6”. A laser engraver helps get the best and ADA-compliant pictograms on signages.
- Ensure the signage base plate is sufficient for the pictogram, lettering, and braille. Leave enough space between these elements.
- You undoubtedly wish to know more about colors. You can certainly incorporate your brand colors in your signs. However, ensure you combine lighter colors for text with a darker-colored background or vice versa. Use of any glare on ADA signs is prohibited.
Your Signs Will Be Considered Compliant if They Offer the Following:
- Ease of readability
- Sufficient contrast between the background and the characters
- Non-glare finish
- ADA-compliant braille lettering
Opt For Professional Training
There is no pill to become a champion overnight. Besides the suitable materials and equipment, you need appropriate training to achieve excellence in the complex process. Let Adendo advisors train you to champion the task of creating ADA complaint signages. We provide individualized and group training directly with the experts on various topics from the print and sign industry.

